Arrange the Patterns
While testing the macro in PatternMaker you noticed that the Long Sleeve with its offset and the Back Piece(without offset) were overlapping each other.
Overlapping pattern pieces can be confusing for the user, it is difficult for a non-advanced sewer to know exactly how the pattern pieces have to be cut.
In MacroGen the Arrange feature can handle this problem and will ensure that pattern pieces do not overlap on the screen.
To have the Arrange command working you need to do two things:
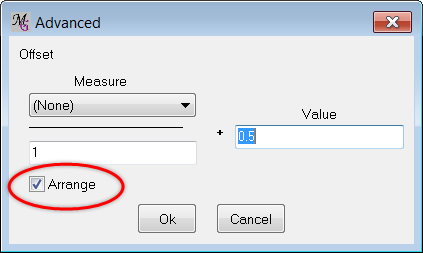
Important is that in each main object ( the outside lines of a pattern piece) has to have the Arrange box checked under the Advanced button in the Object tab. It is not necessary to have an offset filled in. MacroGen will automatically check the arrange box when you fill in an offset. In each group only one object can have the Arrange box checked, this is the object that will have the offset drawn around it. In the Sleeve group this means the Sleeve object will have a checked Arrange box, the text object will not have it checked or eg a grain line.
In the Settings menu the Auto Arrange command should also be checked.
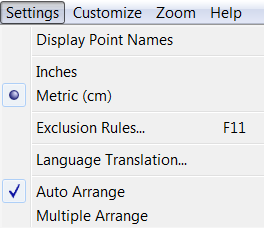
Test the Arrange command with your BodiceWithSleeve project. Check the Arrange boxes in the Bodice front and back part, you can also fill in an Offset of 0.5". Check the Auto Arrange command in the Settings menu. Then create a macro and test it in PatternMaker.
See if the Arrange command is working and no parts are overlapping.
Note: It is always possible to program your the points in objects in a way that the parts will never overlap. Add points to an object so the objects will be placed further away from each other.